How is Battle Command Ancient and Medieval different?
Battle Command (as a series) - as well as Field of Battle, have at their core the focus on key decisions, command and control, and friction on the battlefield. That is handled by the use of a card sequence deck. However, those decks, and the use of those decks is very different from Field of Battle compared to Battle Command.
In Field of Battle, each army's CiC rolls their command die (ranging from a D8 to a D12+1, the larger the better). The difference in those rolls give the number of initiative points for each army. Side A then turns cards and acts on them one at a time. When they are done, Side B does the same from their sequence deck. Sequence decks are 27 cards or so.
In Battle Command, the same CiC roll of determines who has the initiative, but everything else is different. If you win the roll with an Even die roll, you get 2 initiative points. If you win with an odd roll, you get 1 initiative points. Each army's sequence deck is 9 cards. However, the action cards (fire, move, melee, leadership) have a matrix of possibly different actions that you can select for your army depending on how well your CiC rolls when the action cards are turned. This makes each card much much more likely to have value. It forces decisions - what do I really want to do now? What do I NEED to do now? Additionally, you have the decision as the army commander of acting first or second with those initiative points.
Battle Command games are very heavy in command choices. The rules are simple, but complete. Complete does not equal complex. There's only 1 page of reference tables that you need to play the games, and that's only on 1 side of a piece of paper.
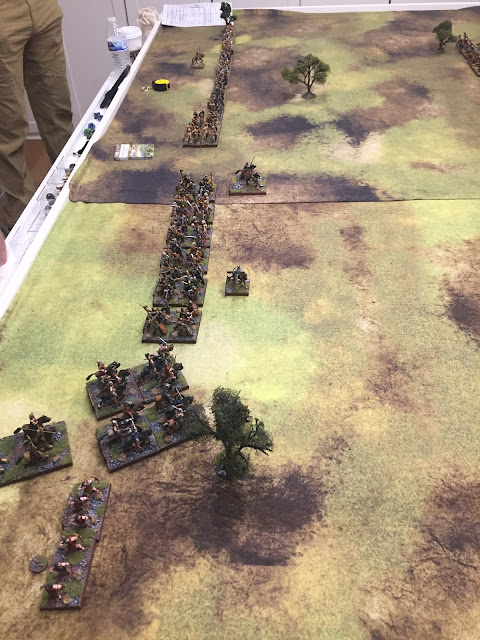
How fast is fast? We played two development/playtest games of a Thirty Years War game yesterday. Each army had 15 units. The first game was 1 1/2 hours, the second game was 1 hour.